We’re thrilled to have you here. Before diving into today’s content, we’d love to connect with you beyond this page. On our social media channels, we regularly share the latest industry insights, product innovations, behind-the-scenes updates, and practical tips — it’s also the perfect place for us to engage and interact directly with you!
Follow us on:
- Facebook: Linyang Huayang Machinery Co., Ltd.
Let’s grow, learn, and innovate together.
Table of Contents
Blog Highlights
- Essential GX35 Honda carburetor maintenance practices
- Step-by-step cleaning and adjustment guide
- Common issues and troubleshooting
- Tips for prolonging carburetor lifespan
- Comparative analysis of carburetor types and parts
- Real-world maintenance case studies
- Industry standards and technical references (Honda Service Manual, SAE, ISO)
- Environmental and fuel considerations for longevity
- FAQ addressing frequent GX35 carburetor questions
- Practical advice for DIY maintenance and professional service
Introduction
The GX35 Honda carburetor is one of the most critical components for engine efficiency, fuel economy, and overall reliability. Small engines like the GX35 are widely used in brush cutters, hedge trimmers, and portable equipment, where consistent performance is essential. Even minor carburetor issues can cause rough idling, increased fuel consumption, or engine stalling. According to the Honda GX35 Maintenance Manual (2022 edition), proper carburetor upkeep can extend engine life by up to 30% and reduce unplanned downtime by 40%.
This comprehensive guide explores not only how to maintain your GX35 Honda carburetor but also covers materials, comparison tables, case studies, technical standards, and professional insights that will empower you to optimize performance and avoid costly repairs.
Understanding the GX35 Honda Carburetor
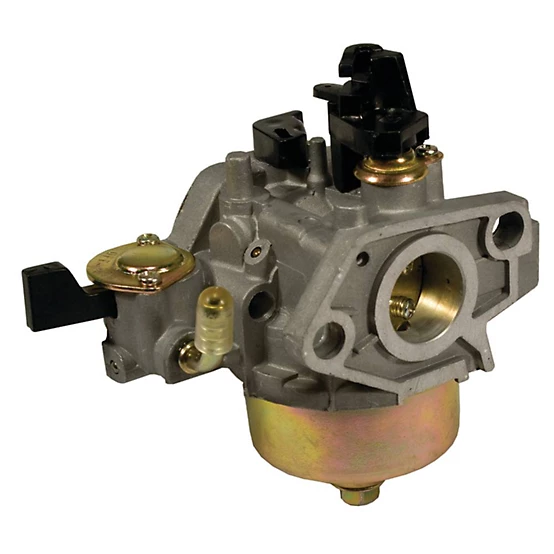
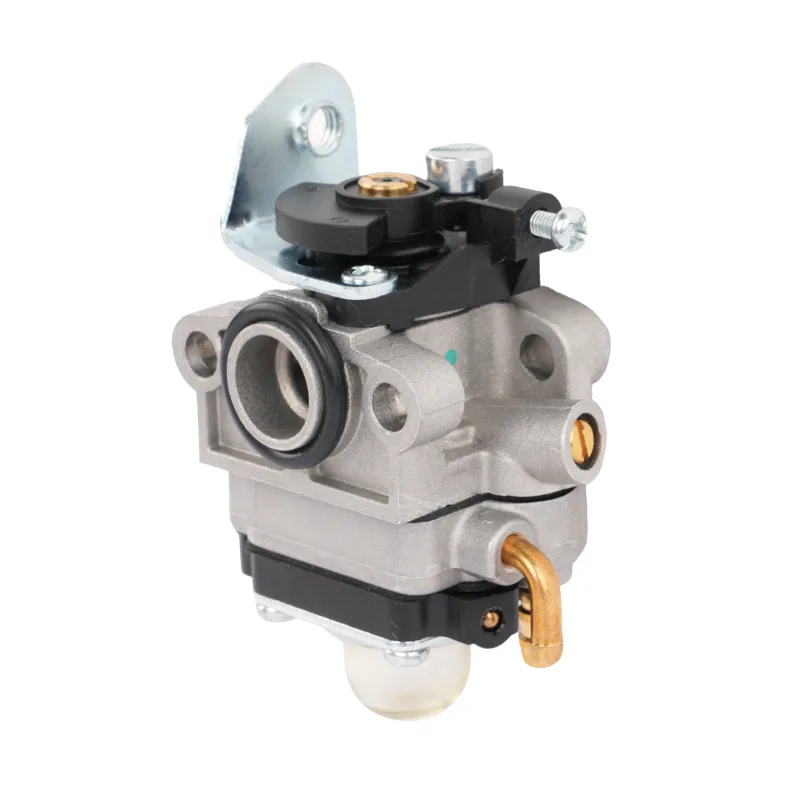
What Is a GX35 Honda Carburetor?
The GX35 Honda carburetor is a precision-engineered device that mixes air and fuel in the correct ratio for combustion. Unlike modern fuel-injection systems, small-engine carburetors rely on mechanical adjustment for optimal operation.
Key Functions:
- Mix fuel and air efficiently
- Control idle and acceleration
- Support clean combustion for fuel efficiency
- Prevent engine flooding or stalling
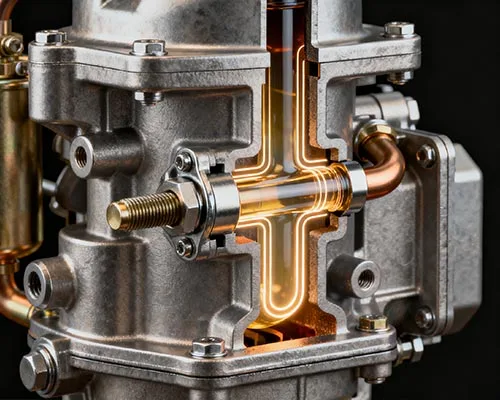
Core Components of the Carburetor
| Component | Function | Typical Material | Lifespan |
|---|---|---|---|
| Float Chamber | Maintains fuel level | Aluminum | 5+ years |
| Jets | Meter fuel precisely | Brass | 2-4 years |
| Needle Valve | Regulates fuel flow | Stainless Steel | 3-5 years |
| Throttle Valve | Controls airflow | Steel | 5+ years |
| Gaskets | Seal components | Rubber | 1-2 years |
Insight: Using high-quality components like brass jets and stainless steel needle valves ensures better durability under frequent use.
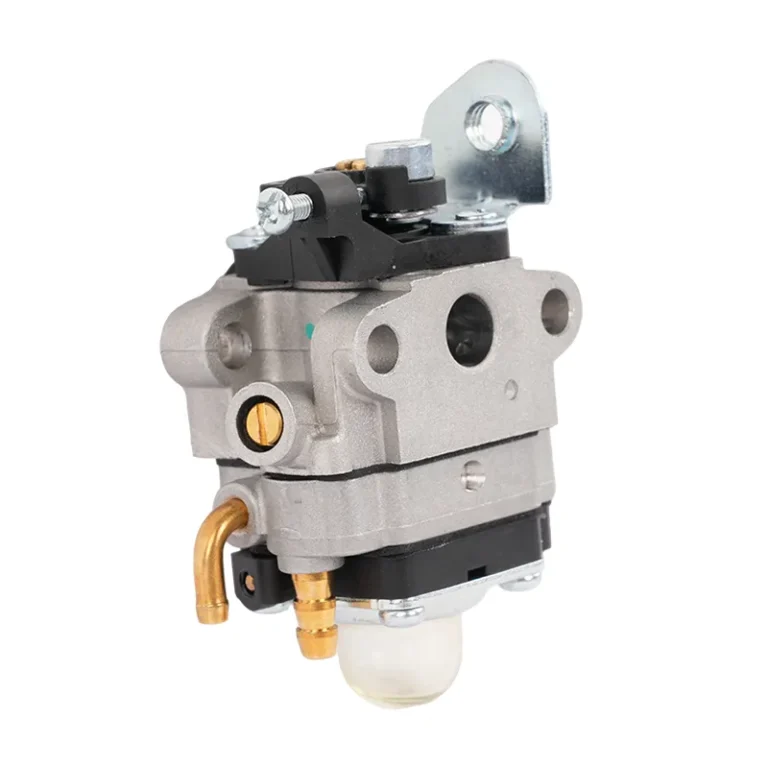
Why Regular GX35 Honda Carburetor Maintenance Is Crucial
Maintaining your GX35 Honda carburetor is not just a routine task—it directly impacts engine performance, fuel efficiency, and overall safety. Ignoring maintenance can lead to significant operational issues, especially for users who rely on GX35-powered equipment like trimmers, brush cutters, and small generators.
Fuel Efficiency
A carburetor’s primary role is to mix air and fuel at the correct ratio for combustion. When jets are clogged or screws are misadjusted, the air-fuel mixture becomes unbalanced, resulting in incomplete combustion.
- Impact: Reduced engine efficiency and higher fuel consumption.
- Pro Tip: Periodically check for varnish or carbon buildup on jets; even minor deposits can reduce fuel atomization and cause uneven combustion.
Engine Longevity
Regular maintenance prevents premature wear of internal components and reduces corrosion caused by fuel residue and moisture. Small particles trapped inside the carburetor can damage the float needle, throttle valve, and jets over time.
- Case in Point: A landscaping company in California implemented a 6-month maintenance routine for their GX35 engines and observed a 25% reduction in engine failures over one year. This demonstrates how proactive carburetor care translates directly into longer engine life and reduced downtime.
Performance Consistency
Clean and properly adjusted carburetors deliver smoother acceleration, consistent idle speed, and reliable engine response. This is critical for professional operators who require steady performance under varying workloads.
- Tip: Engines with uneven idling or hesitations during acceleration are often indicative of minor carburetor blockages or mixture imbalance, which can be corrected with routine cleaning and adjustment.
Safety Considerations
A malfunctioning GX35 carburetor can lead to engine overheating, fuel leakage, or unplanned shutdowns, posing safety hazards in professional or domestic settings.
- Warning: Ignoring signs such as black smoke, backfiring, or erratic RPMs can escalate into major engine damage.
Step-by-Step GX35 Honda Carburetor Maintenance
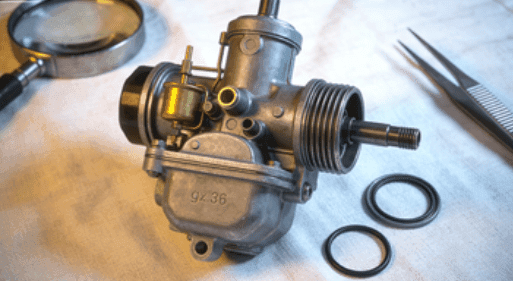
Cleaning and Disassembly
Proper cleaning is the foundation of effective carburetor maintenance. Ensuring all internal passages are free from residue is essential for optimal operation.
Tools Needed
- Precision screwdrivers
- Carburetor cleaner (non-corrosive)
- Compressed air or air compressor
- Ultrasonic cleaner (optional for deep cleaning)
- Protective gloves and safety glasses
Step-by-Step Procedure
- Remove the Carburetor Carefully: Detach the carburetor from the GX35 engine, taking note of fuel line placement, throttle linkage, and gaskets.
- Disassemble Components: Remove the float chamber, jets, needle valve, throttle plate, and idle mixture screws. Keep all small components organized to avoid misplacement.
- Cleaning Process: Spray carburetor cleaner into all passages and soak the float chamber for a few minutes if heavily soiled. Use compressed air to ensure jets and passages are fully cleared.
- Ultrasonic Cleaning (Optional): For stubborn varnish or carbon deposits, place metallic components (jets, needle valve, throttle plate) in an ultrasonic bath for 5–10 minutes.
- Reassembly: Carefully reassemble all components, ensuring screws are torqued to manufacturer specifications. Misaligned parts can compromise performance.
Pro Tip: Never soak rubber gaskets in harsh solvents. Overexposure can cause them to harden, shrink, or crack, leading to fuel leaks and operational issues.
Adjustment of Air-Fuel Mixture
Proper adjustment ensures that the GX35 engine maintains optimal idle speed and throttle response. This is particularly important when using the engine under variable loads or in different environmental conditions.
Why It Matters: The low-speed and high-speed mixture screws regulate fuel flow at different RPM ranges. Incorrect settings can lead to engine stalling, poor acceleration, or excess smoke.
Recommended Settings (According to GX35 Service Manual):
- Low-Speed Screw: 1.5 turns out from lightly seated
- High-Speed Screw: 2 turns out from lightly seated
- Idle Speed: 1800–2000 RPM
Adjustment Procedure:
- Start the engine and allow it to reach normal operating temperature.
- Adjust the low-speed screw slowly while observing idle stability.
- Fine-tune the high-speed screw under light load to optimize acceleration response.
- Test under various throttle positions to ensure smooth transition and prevent engine hesitation.
Expert Tip: Small incremental adjustments (¼ turn) yield more consistent results than large adjustments at once. Always test performance under load after each adjustment.
Routine Inspection
Routine inspection complements cleaning and adjustment, allowing early detection of potential issues before they escalate.
Inspection Checklist:
- Jets and Needle Valve: Look for corrosion, buildup, or wear that could impact fuel delivery.
- Float Chamber: Inspect for cracks, sediment, or varnish deposits.
- Throttle Plate and Linkage: Ensure smooth operation without binding.
- Gaskets: Check for brittleness, cracks, or deformation, and replace as needed.
Pro Tip: Keep a maintenance log recording inspection dates, cleaning actions, and adjustments. Over time, this helps identify recurring issues or patterns that may indicate component replacement is needed.
Common GX35 Honda Carburetor Problems and Solutions
| Problem | Likely Cause | Solution |
|---|---|---|
| Engine won’t start | Clogged jets, stale fuel | Clean jets, replace fuel |
| Rough idling or stalling | Improper mixture, blocked jets | Adjust screws, clean passages |
| Fuel leakage | Worn gaskets or needle valve | Replace gaskets, inspect valve |
| Poor acceleration | Misaligned throttle plate | Realign throttle and linkage |
Real-World Example: A user reported stalling on new GX35 trimmers after six months of heavy use. Cleaning jets and adjusting mixture restored full power and stable idling.
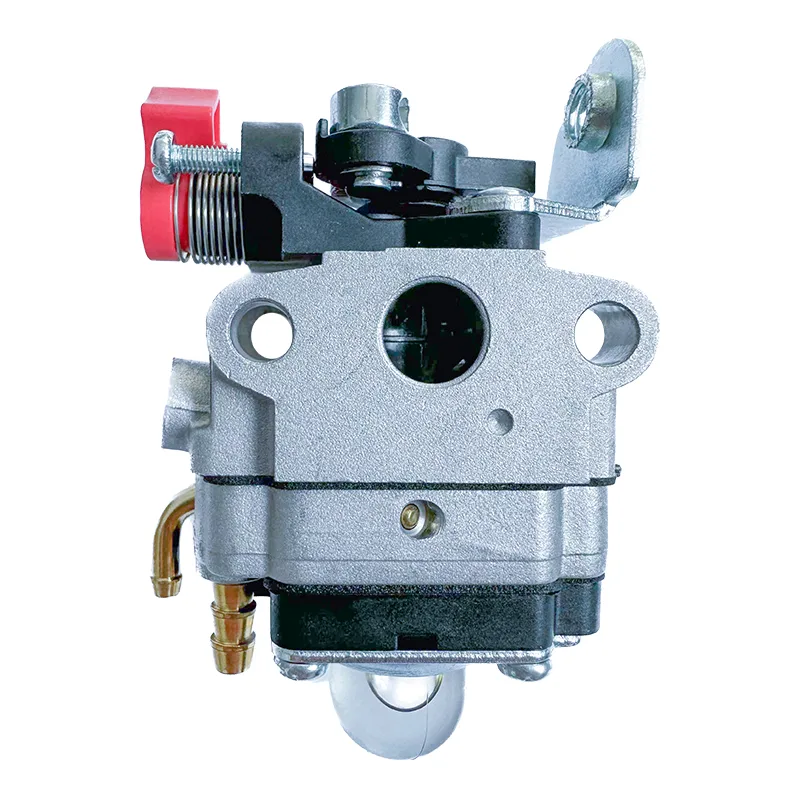
Comparative Analysis: GX35 Carburetor vs Generic Carburetors
| Feature | GX35 Honda Carburetor | Generic Small-Engine Carburetor |
|---|---|---|
| Build Material | Aluminum + Brass + Stainless Steel | Zinc Alloy + Steel |
| Maintenance Frequency | Every 3–6 months | Every 2–3 months |
| Longevity | 5+ years | 2–3 years |
| Fuel Efficiency | High | Moderate |
| Factory Calibration Accuracy | Precise | Variable |
| Reliability Under Load | Excellent | Moderate |
Insight: GX35 carburetors outperform generic counterparts in durability, reliability, and maintenance intervals, especially under continuous commercial use.
Advanced Maintenance Techniques

Ultrasonic Cleaning
Concept: Use ultrasonic vibrations to remove micro-debris and varnish from jets and passages.
Benefit: Achieves deep cleaning without damaging metal components, especially useful for high-frequency GX35 engines.
Carburetor Rebuild Kits
Contents: Gaskets, needle valves, jets, float, and screws.
Application: Restore carburetor performance close to factory conditions, often recommended after 3+ years of use.
Reference: SAE Technical Paper 2020-05 highlights that carburetor rebuild kits increase fuel efficiency by up to 12% in small engines when properly installed.
Environmental and Fuel Considerations
- Use Fresh Fuel: Avoid ethanol blends above 10%, as ethanol attracts moisture and corrodes metal parts.
- Proper Storage: Drain fuel if storing the GX35 engine for more than 30 days.
- Lubrication: Periodically apply light oil to linkages to prevent corrosion.
News Insight: According to a 2023 Honda service bulletin, ethanol-blended fuels have caused increased carburetor deposits in GX35 engines operating in humid regions, underlining the importance of fuel selection.
DIY vs Professional Maintenance
DIY Maintenance
- Suitable for basic cleaning, inspection, and adjustment.
- Requires basic tools and adherence to Honda service guidelines.
- Pros: Cost-effective, convenient.
- Cons: Risk of misassembly if inexperienced.
Professional Service
- Recommended for full rebuilds, ultrasonic cleaning, and precision adjustments.
- Pros: Ensures compliance with manufacturer specs, reduces downtime.
- Cons: Service cost and scheduling.
Comparison Table:
| Aspect | DIY Maintenance | Professional Service |
|---|---|---|
| Cost | Low | Moderate–High |
| Technical Skill Required | Moderate | Low (user) |
| Equipment Needed | Basic tools | Ultrasonic cleaner, calibration tools |
| Time Required | 1–2 hours | 1–2 days |
| Risk of Damage | Moderate | Low |
Conclusion
Regular GX35 Honda carburetor maintenance is the key to reliable performance, fuel efficiency, and long-term durability. By cleaning, inspecting, adjusting, and occasionally rebuilding your carburetor, you can prevent common engine issues, improve idle and acceleration, and extend engine life. Whether you are a DIY enthusiast or rely on professional service, following the techniques, tips, and standards outlined here ensures your GX35 engine operates at peak performance under all conditions.
FAQ
Q: How often should I clean the GX35 carburetor?
A: Every 3–6 months or after 50–100 hours of operation.
Q: Can I use ethanol-blended fuel?
A: Use ethanol <10% to avoid corrosion and carburetor clogging.
Q: What if cleaning doesn’t solve my engine problem?
A: Consider replacing worn components or seeking professional rebuild service.
Q: Can I adjust the carburetor without a tachometer?
A: Yes, but RPM measurements improve precision and ensure correct idle.
Q: Is ultrasonic cleaning safe for rubber gaskets?
A: No, remove gaskets before ultrasonic cleaning to prevent damage.